Friday 23 January 2015

Stay Frosty

It's winter and it's cold. Well, more or less. Seems the temperature around here goes through a cycle of around 20 degrees, from freezing to few degrees above zero. So any given day it's either the fear of frostbite or slipping into a puddle.

A while ago we had a game in what was closer to the former temperature. Not only was it cold, but also windy. Not exactly ideal. Our typical weekend skirmishes would last for several hours, but this one was over after just two sessions. No one was really enjoying the weather and, more importantly, our guns started sounding rather unhealthy.

Some authentic Finnish snow right there

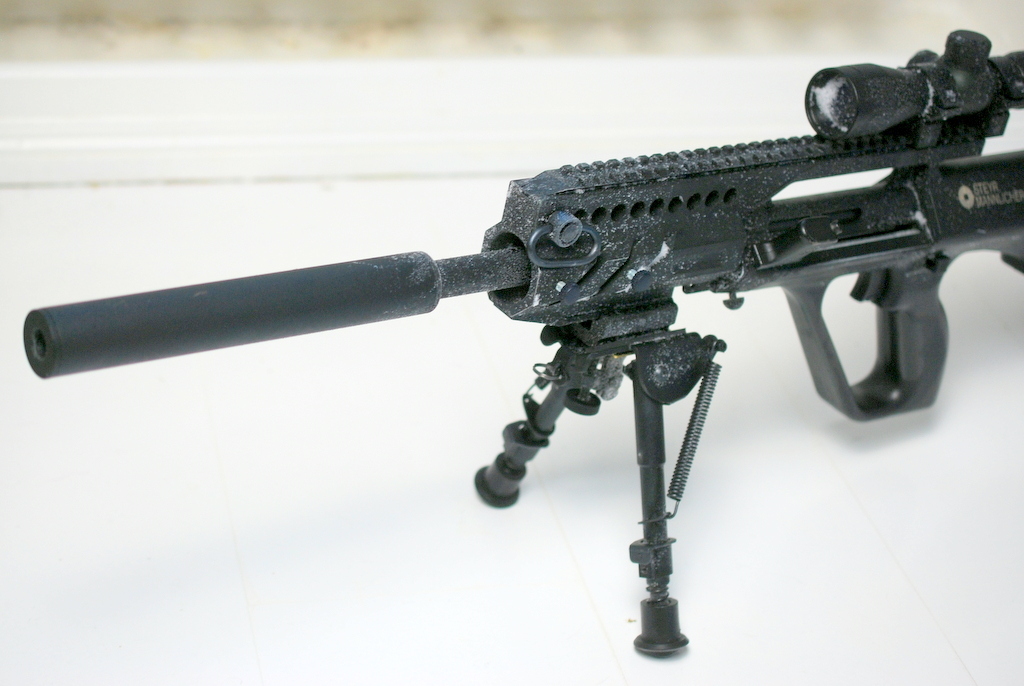
I had both of my AEGs with me as I wanted to see how the AUG would finally perform in the field. The G36C was there as backup in case something went wrong, but I actually ended up lending it to a team mate. He had had a malfunction in his primary some time ago and had nothing to play with, so a third team mate had brought a second gun with him to lend. That thing then refused to work at all. It just would not fire, not a single shot no matter how many different batteries we tried. Good thing I had one to spare. From what he said later, the G36C functioned perfectly all the way through. Not so with the AUG. Not even close.

I was using 0.25g bio BBs by G&G, which I've heard good things about, and should have performed very nicely. I shot some very nice groups with them in my apartment earlier.

Discounting the one outlier, a pretty nice grouping at 15 metres
While obviously not perfect, I was still expecting some rather consistent performance. I'm guessing the cold and my rubber G-hop did not work well together at all, since I was either lacking range, getting ridiculous amounts of over hop or under hop, or getting sideways spin, all without ever touching the adjustment wheel.

Towards the end of the second skirmish session, I was unable to hit the enemy at five metres because the scope had fogged over and so I had no clue where my BBs were going. I simply walked upright toward him, shooting from the hip. His gun didn't perform too well either, but he finally hit me at around three metres, which I only barely felt. It would have been more effective to just throw fistfuls of BBs at each other. At that point I also decided that I'd play no more, because the gearbox started sounding really unhealthy. I'm guessing the grease inside began to harden in the frost and the action seemed way slower. Needless to say, all of that made the first field test of my "finished" DMR pretty much a complete nightmare.

Slightly less than ideal aiming conditions
In all honesty, I now understand how people can get tired with their project guns. I've spent quite a few hours on the AUG so far, and it's still not doing what I want. But I will not be denied! I will have my DMR. Right now I'm thinking an IR-hop might be the answer to get me where I want, and even allow for winter games if I find a grease that works in the cold as well. It might be a while before I get the materials and the requisite interest, but it will happen. If not this winter then the one after.


Friday 9 January 2015

Of Triggers and Nozzles

I decided to finally grab the bull by the horns and get back to work on the AUG. I had a new air nozzle and wanted to get the gun back in working order for the weekend game.

The newest nozzle I bought is by Core, and it's somewhat different from both the stock piece as well as the SHS aluminium one I had installed before. The stock nozzle has no o-rings, so it's bound to leak quite a bit of air. The SHS nozzle has one o-ring, and is made from aluminium. Both of them have a step in their profile around halfway through, the purpose of which is unclear to me. The Core nozzle has a smooth profile, and uses a double o-ring system which catches grease between the two in order to remain well lubricated. What surprised me, though, was that the o-rings did not come preinstalled, but instead sat on their own in the package.


The nozzle also had some surprisingly bad burrs on both ends, but they were quickly dispatched with a round file and crafting knife.


Out of curiosity, I decided to measure the length of the three nozzles, and was rather surprised by the result.

Left to right: Stock JG nozzle, SHS nozzle, Core nozzle

The SHS nozzle is a good bit shorter than the stock or the Core one. I'm not surprised that I wasn't getting all the power I was expecting. Why, however, would they make the nozzle so out of spec compared to the stock one? The mind boggles. At least I'm better off now. I hope to be, at least.

I had dreaded opening the gearbox for a while because of the way the trigger mechanism is built. It is pretty nightmarish to put together, as I've explained in earlier posts.


The main trigger piece (on the left) has a metal contact plate on the rear face that connects two contacts on the gearbox body to enable full auto fire. That is covered here with duct tape to make the AUG semi-only. The separate claw-shaped piece (in the middle) actuates the normal V3 gearbox contacts which achieves the semi-auto fire using a cut-off lever. The return spring, rather unsurprisingly, returns the trigger to the forward position.


When assembled, the two metal pieces are only connected to each other by the tabs on the larger piece riding inside the cutout of the smaller piece. Said cutout is open on both ends, so there's precious little to stop the smaller piece from simply falling off when reassembling the gearbox. To alleviate this, I came up with a plan.


Using an empty beer can as material, I created a piece that would hold the two trigger parts together and allow me to use my limited number of hands for more pressing matters when putting the box back together.


The sides of the can are really thin, so I reasoned they would not interfere with the trigger's movement.


After I had a good sized piece cut off, I used a sharp punch to mark the locations of the holes on the shell, and later a larger one to cut out holes to match the trigger pieces.


With my brand new Keep-It-Together-Plate™, I was ready to once again organize my fingers like some meat origami so that every piece would stay put until I got at least one screw in place.


I suppose it was too much to ask. But hey, at least the two pieces stuck together! One more go, and I had it.


First screw was in, holding the spring in check, and all that I had to do now was to move the gears around enough to be able to get the top part of the shell to sit in place. It helps to push the nozzle in, as that moves the tappet plate back and in so doing, takes the pressure off the gears.

Once everything was in place, I quickly connected a battery to check everything works, and then stuck the box back into the gun. Everything works as it should, so here's one success for the history books.